Lux Landscaping · Gold Coast
Outdoor kitchens & BBQ areas
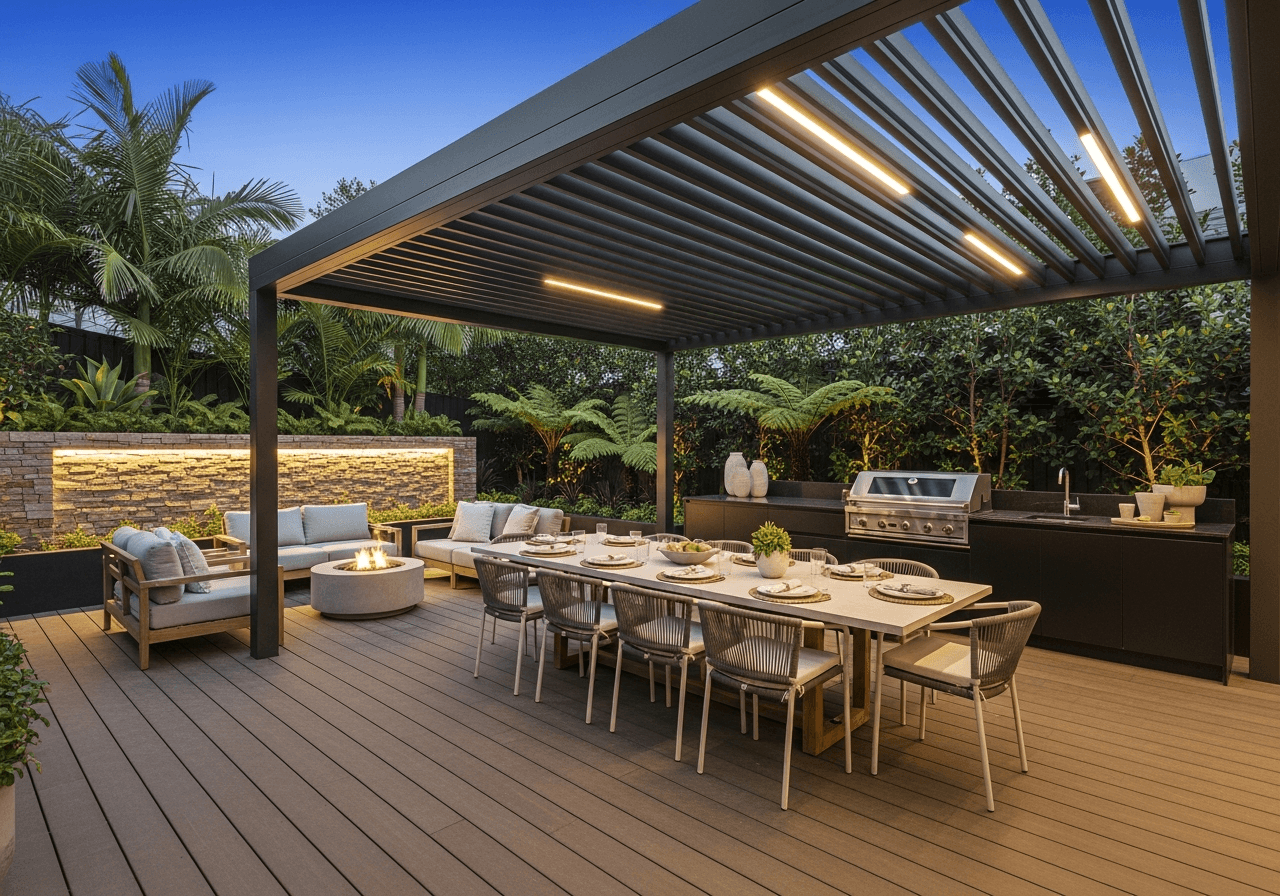
Built-in BBQs, stone benches, plumbed sinks, integrated fridges, and alfresco dining zones designed as part of the landscape — not bolted on.
The trolley-BBQ-on-a-deck era is over. The Gold Coast lifestyle now lives or dies on the outdoor kitchen — a built-in space where hosting feels effortless and the cook isn't trapped indoors while everyone else sits outside.
A proper outdoor kitchen is more than a BBQ in a stone surround. It's a plumbed sink. It's a fridge that doesn't fight the salt. It's bench space that's actually usable for prep. It's task lighting that lets the cook see the meat at 9pm. It's an exhaust hood that handles smoke. It's drainage that survives ten Gold Coast summers. And it's all integrated into the landscape so the whole zone feels intentional.
We've built outdoor kitchens from $18,000 single-BBQ benches up to $80,000+ integrated cook+entertain zones with pizza ovens, side burners, double drawers, kegerators and stone-clad island benches. The brief always starts the same way: how often do you actually entertain, what do you actually cook, and where does the wind come from. The build follows from there.
Scope
What's included.
The Process
How it works.
- 01Step 01
Brief + lifestyle audit
We talk through how you actually entertain — how many people, how often, what you cook, what's missing in your current setup. Most kitchens fail because the brief is wrong, not the build.
01Brief + lifestyle audit - 02Step 02
Concept render + appliance spec
Photo-real render of the kitchen against your real backyard. Appliance brand, model and finish locked. Plumbing and electrical points marked on the slab plan.
02Concept render + appliance spec - 03Step 03
Slab + services rough-in
Concrete slab poured to falls, gas line plumbed, water and waste roughed in, electrical run. This is the hidden work that decides whether the kitchen lasts.
03Slab + services rough-in - 04Step 04
Build
Carcass framed, cladding installed, bench tops laid, appliances integrated, splash detailing finished. Lighting wired and aimed.
04Build - 05Step 05
Commission + handover
Every appliance fired, every tap run, every drawer cycled. Owner walk-through with care manual covering every brand. 12-month check-in scheduled.
05Commission + handover
- Step 01
Brief + lifestyle audit
We talk through how you actually entertain — how many people, how often, what you cook, what's missing in your current setup. Most kitchens fail because the brief is wrong, not the build.
- Step 02
Concept render + appliance spec
Photo-real render of the kitchen against your real backyard. Appliance brand, model and finish locked. Plumbing and electrical points marked on the slab plan.
- Step 03
Slab + services rough-in
Concrete slab poured to falls, gas line plumbed, water and waste roughed in, electrical run. This is the hidden work that decides whether the kitchen lasts.
- Step 04
Build
Carcass framed, cladding installed, bench tops laid, appliances integrated, splash detailing finished. Lighting wired and aimed.
- Step 05
Commission + handover
Every appliance fired, every tap run, every drawer cycled. Owner walk-through with care manual covering every brand. 12-month check-in scheduled.
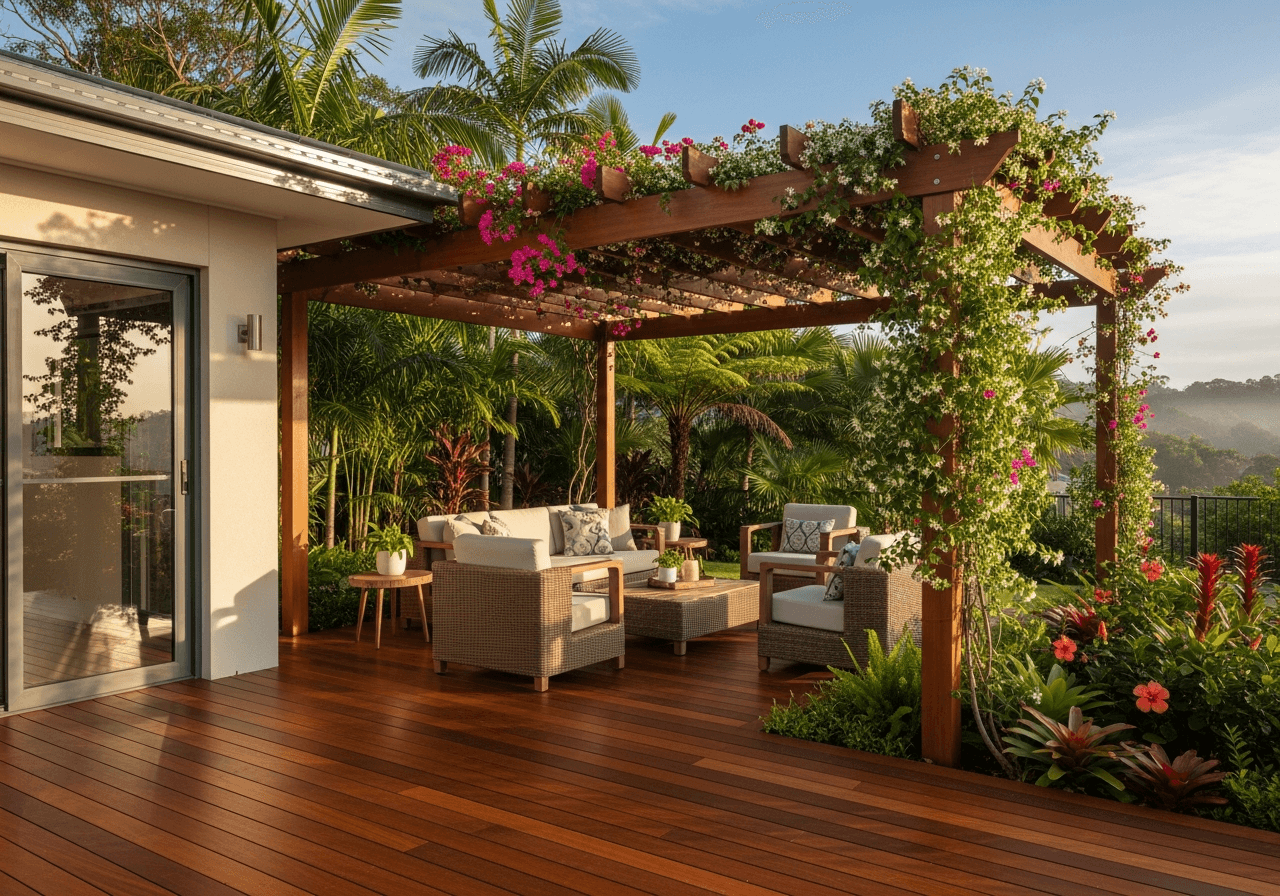
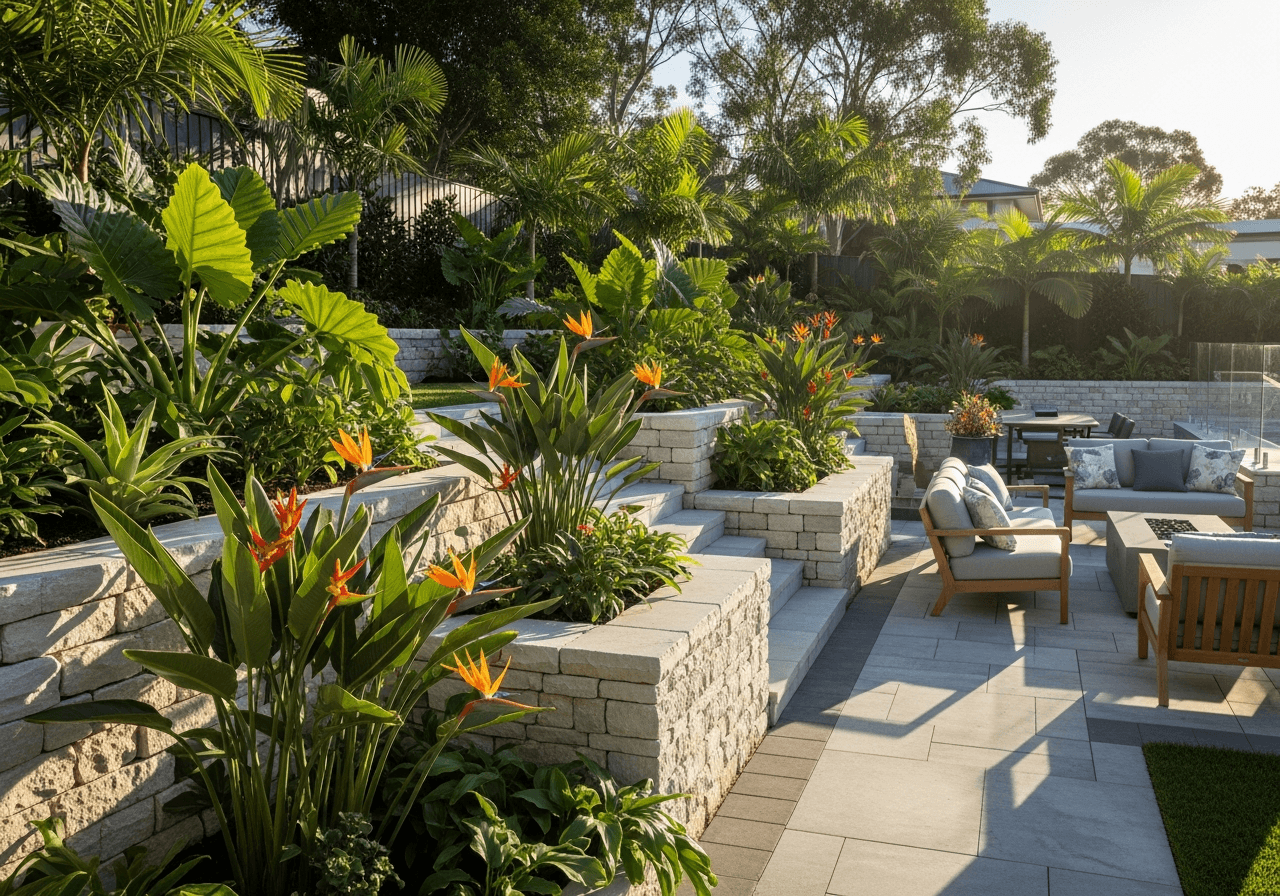
Gallery
Recent work.
FAQ
Frequently asked questions.
Related services
Most Lux clients combine two or three.
Service area